Surgical Insights & Knowledge Base

Surgical Instruments & Medical Blog

Discover expert technical articles, manufacturing guides, instrument maintenance tips, and clinical updates from Warsi Surgical Industries.

0%

Choosing the right Micro Needle Holders begins with the work they must perform. A delicate ophthalmic needle needs a different grip from a larger suture needle. The jaws should meet evenly, hold securely, and release without a sudden jerk. Check the tip under bright light. Even a slight mismatch can make precise handling frustrating.

Surgeon and author Atul Gawande offers a broader standard: “Better is possible. It does not take genius. It takes diligence.” His words are not specifically about needle holders, but they fit instrument selection: careful checks matter. Compare jaw patterns, handle length, balance, and ratchet feel. If possible, test the holder with the needle size and technique you use. Notice whether your fingers stay relaxed during repeated movements. Small details count.

Material and maintenance matter, too. Confirm that the instrument suits your facility’s validated cleaning and sterilization process. Inspect the jaws and hinge for wear, corrosion, or looseness. A polished finish is not proof of reliable performance. Neither is a familiar brand name. There is no single best model for every hand or procedure. That can make choosing slower. This guide explains how to weigh precision, comfort, durability, and fit, so your decision rests on observable features rather than vague claims. The final choice should still be checked in practice.
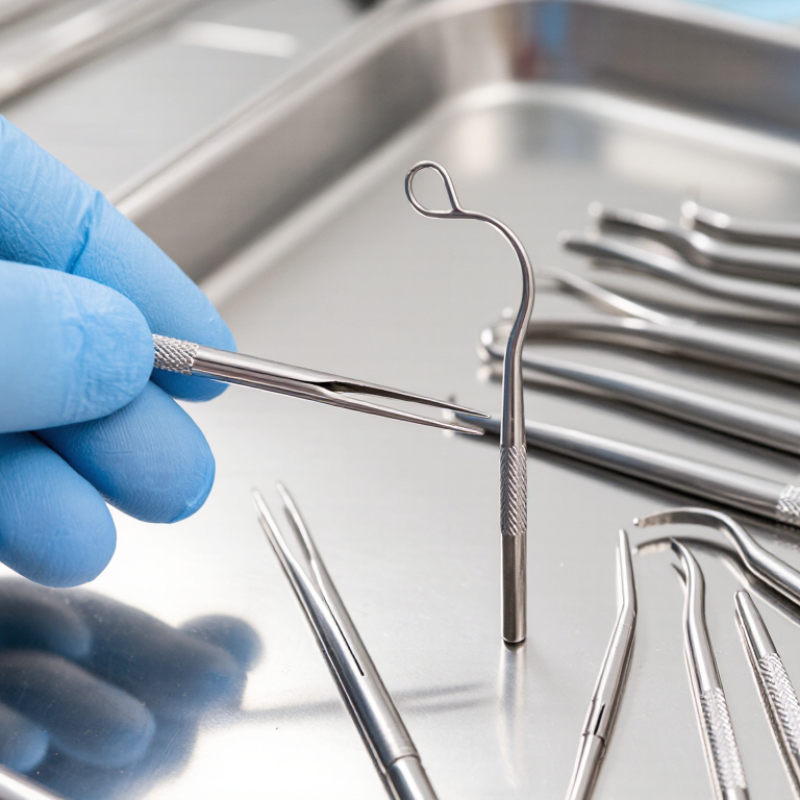
How to Choose the Best Micro Needle Holders

Understanding the Purpose and Types of Micro Needle Holders

How to Choose the Best Micro Needle Holders

Understanding the Purpose and Types of Micro Needle Holders

Micro needle holders control tiny needles during delicate suturing. Their jaws stabilize the needle and help limit rotation. Fine, narrow jaws suit small needles and restricted spaces. Straight patterns offer direct access; curved jaws can improve visibility around angled anatomy. Spring handles allow quick release, while ratcheted models maintain a set grip. Neither design is universally better. Hand size, needle curvature, and procedure needs all matter.

A 2008 Lancet analysis estimated 234.2 million major operations worldwide in 2004 (Weiser et al., “An Estimation of the Global Volume of Surgery”). This figure describes surgical volume, not micro needle holder use, but it gives useful context for instrument selection. Inspect the jaw tips under magnification: worn teeth or uneven closure may allow a needle to slip. Tungsten-carbide inserts may improve grip and durability, though they can add cost. Small details count. A holder that feels secure in a dry trial may feel different with gloves.

Tips: Match jaw length to the needle, then test closure and balance with gloved fingers. Choose a locking or spring model based on control needs, not habit. Note anything that feels awkward; small discomfort is easy to dismiss.

Identifying the Right Holder for the Procedure

How to Choose the Best Micro Needle Holders: Identifying the Right Holder for the Procedure

Choose a micro needle holder to match the needle, tissue, and surgical access. For delicate suturing, a slim jaw can improve visibility around the needle tip. A longer shaft may help reach a deep field, but can reduce tactile feedback. Check that the jaw securely grips the needle without crushing it. Handle shape matters, too. A balanced grip can steady small movements during repeated passes. Fit matters.

Consider the procedure’s needle size and curvature, then test the holder with the intended suture. The needle should sit firmly in the jaws, usually near the tip, without twisting during a controlled turn. A ratchet can reduce the effort needed to maintain grip, though excessive locking force may strain fine instruments. One detail is easy to miss: confirm that the instrument’s materials and construction suit the facility’s validated cleaning and sterilization process.

The World Health Organization’s 2022 Global Report on Infection Prevention and Control estimates that 7% of patients in high-income acute-care hospitals, and 15% in low- and middle-income settings, acquire at least one healthcare-associated infection during their stay. These figures are not specific to needle holders, so they do not prove that one holder design lowers infection risk. They do underline the importance of choosing an instrument that can be inspected and reprocessed reliably. If the grip feels awkward or obscures the needle, reassess the choice; procedure type alone is not enough.

Choosing a Micro Needle Holder: Typical Length by Procedure

Typical instrument-length ranges can help narrow your choice. Select a holder that provides precise control and comfortable access to the operative field.

How to use this guide: Shorter holders suit confined fields, while longer holders can improve reach in deeper or less accessible areas. These ranges are typical, not universal; instrument dimensions vary. Consider needle size, jaw design, surgeon preference, and the procedure’s access requirements, and check the instrument specifications before use.

Comparing Jaw Designs, Materials, and Handle Styles

Jaw design determines how a micro needle holder meets delicate sutures. Fine, textured jaws can help prevent a needle from rotating, especially when tying small stitches. Very narrow tips offer access in confined areas, but they may feel less stable with a larger needle. A smooth jaw can reduce surface marking, yet it may allow more slipping. Check that the jaws meet evenly under light pressure. Tiny gaps matter.

Material affects feel, wear, and maintenance. Stainless steel is common and resists corrosion when cleaned and processed correctly. Tungsten-carbide inserts often provide a firmer bite and resist wear, though they can add weight and cost. Neither material excuses poor handling. Follow the instrument’s care instructions, and inspect the jaw edges for damage. A nick can catch fine suture.

Handle style changes control over repeated movements. Ring handles provide a familiar, steady grip, but can feel restrictive during delicate work. Spring-style handles allow quick opening and may reduce finger movement; they also take practice. Try both with gloves. Notice whether your wrist stays relaxed and whether the instrument opens smoothly. I would not choose by appearance alone. Even a well-made holder can feel awkward in a particular hand, and that is worth reconsidering.

How to Choose the Best Micro Needle Holders: Comparing Jaw Designs, Materials, and Handle Styles
Feature Common Option Grip and Control Potential Advantages Points to Consider Often Suited To
Jaw profile Straight jaws Direct alignment between the handle and needle tip Provides a clear, predictable approach when the target is accessible in a straight line May offer less access when the operative view or approach is obstructed Work with a relatively direct line of sight and needle approach
Jaw profile Curved or angled jaws Places the tip at an offset angle to the handle Can improve access around adjacent structures or within a restricted field The offset changes the relationship between hand movement and tip direction; users may need practice Sites where a straight instrument is difficult to position
Jaw-face pattern Fine longitudinal serrations Provides directional contact along the jaw length Offers a textured gripping surface while keeping the jaw profile relatively simple Grip depends on jaw alignment, condition, and the needle being handled General microsurgical needle handling when a conventional textured jaw is preferred
Jaw-face pattern Cross-serrated or patterned faces Creates texture in more than one direction across the contact area May help resist needle movement when the jaws are correctly aligned Check that the pattern is appropriate for the needle; excessive pressure can deform delicate needles Users seeking a more multidirectional grip surface
Jaw construction Tungsten-carbide (TC) inserts Hard, textured inserts provide the gripping surfaces Designed for wear resistance and sustained gripping performance compared with many uncoated steel jaw faces Typically costs more; inspect inserts for wear, damage, or loss of alignment Frequent use where durable jaw surfaces are a priority
Jaw construction Stainless-steel jaws without TC inserts Grip is produced by the steel jaw geometry and surface pattern Simple construction and commonly compatible with reusable instrument workflows Jaw-face wear and grip can vary with use and maintenance Routine use where a conventional steel jaw is suitable
Handle style Spring handle Opens when pressure on the handles is released; finger placement varies by design Can support a light, controlled grip and fine movement without finger rings Requires a comfortable hand position and consistent pressure control Users who prefer a compact, ringless instrument for delicate manipulation
Handle style Ring handle Finger rings help stabilize the instrument in the hand Familiar handling for users accustomed to ring-handled instruments Ring size and handle balance affect comfort and fine control during prolonged use Users who prefer a more traditional finger-ring grip
Handle design Textured or matte grip surface Surface finish is intended to reduce slipping in the hand May improve handling confidence, especially when a smooth handle feels difficult to control Texture and balance are matters of user preference; assess comfort with gloves Users prioritizing a secure-feeling grip

Selection note: Jaw dimensions, needle compatibility, handle balance, and reprocessing instructions vary by instrument design. Confirm the instrument’s specifications and assess its feel with the intended needles and gloves.

Evaluating Size, Grip, Precision, and Sterilization Needs

Choosing a micro needle holder starts with the needle and the work area. A compact model can improve visibility around delicate tissue, while a longer shaft may help reach deeper sites. Match jaw length and needle capacity to the needle’s curvature; oversized jaws can obscure the tip. Test the handle with gloves on. A balanced instrument should feel steady, not top-heavy, and its grip should resist slipping without forcing a tight pinch. Small differences matter.

Precision depends on more than finger skill. Check that the jaws meet evenly and hold a fine needle without crushing it. A ratchet should engage predictably and release without a sudden jump. CDC’s Guideline for Disinfection and Sterilization in Healthcare Facilities classifies instruments entering sterile tissue as critical items that require sterilization. AAMI ST79 describes a sterility assurance level of 10⁻⁶ for validated sterilization processes. Confirm that the holder’s materials and joints tolerate the facility’s chosen reprocessing cycle; hinge areas can trap soil if cleaning is rushed.

Tips: Test the holder on a practice pad. Look for jaw alignment under bright light. Ask reprocessing staff to confirm the cleaning and sterilization instructions. A useful detail is often missed: a comfortable handle in a dry hand may feel different when wet or gloved. Recheck the grip before choosing. Perfect fit is not always obvious. Could be worth a second look.

Selecting and Maintaining a Suitable Micro Needle Holder

Selecting and Maintaining a Suitable Micro Needle Holder

Choose a micro needle holder that fits the needle size and the work area. Fine jaws support precise control, while a textured grip can reduce slipping in gloved hands. Check that the ratchet closes evenly and releases without force. A holder that feels comfortable in a dry hand may feel different during a long procedure, so assess balance and grip with gloves. Small details matter.

The U.S. Centers for Disease Control and Prevention reported that, on any given day, about 1 in 31 hospital patients has at least one healthcare-associated infection (CDC, 2018). This figure is not specific to instruments, but it underscores why careful reprocessing matters.

Follow the instrument’s instructions for use for cleaning, disinfection, and sterilization; steps can differ by design and material. Remove visible soil promptly, paying close attention to the hinge and jaw grooves. After cleaning, inspect the tips under good light. Bent jaws, rough movement, or a loose ratchet can impair handling. Dry the holder fully before storage, and keep it protected from impact. A quick visual check is useful, but it cannot replace scheduled servicing.

Tips:

Open and close the holder several times after cleaning. Check the hinge. If motion feels gritty or uneven, remove it from service and have it assessed.

CDC, Guideline for Disinfection and Sterilization in Healthcare Facilities, 2008; CDC, HAI Data and Statistics, 2018.

FAQS

How do jaw designs affect needle control?

Fine, textured jaws can help keep small needles from rotating. Narrow tips reach confined areas but may feel less stable with larger needles. Tiny gaps matter.

Is a smooth jaw always a better choice?

A smooth jaw may leave fewer surface marks, but the needle can slip more easily. Check that both jaws meet evenly under light pressure.

What materials are commonly used?

Stainless steel resists corrosion when properly cleaned and processed. Tungsten-carbide inserts can provide a firmer grip and resist wear, but may add weight and cost.

Should I choose ring or spring-style handles?

Ring handles feel familiar and steady, though they may seem restrictive. Spring-style handles open quickly and need practice. Try both with gloves.

How can I tell whether a holder fits my work?

Match the jaw size to the needle and work area. Check the balance, ratchet, and grip with gloved hands. A comfortable dry grip may change during longer use.

What should I check after cleaning?

Look closely at the tips, hinge, and jaw grooves. Bent jaws, rough movement, or a loose ratchet can affect handling. A quick check is useful, but it is not enough on its own.

How should the holder be cleaned and stored?

Follow the instrument’s care instructions for cleaning, disinfection, and sterilization. Remove visible soil promptly, dry it fully, and protect it from impact during storage.

What if the hinge feels gritty?

Open and close the holder several times after cleaning. If movement stays uneven, remove it from use and arrange an assessment. I would not ignore a small change in feel.

Conclusion

Choosing the right Micro Needle Holders begins with understanding their purpose and the demands of the procedure. Consider the type of needle and suturing task, then compare jaw designs, construction materials, and handle styles. These features affect how securely the instrument holds a needle, how comfortably it fits the hand, and how much control it offers during delicate work.

Before selecting a holder, assess its size, grip, and precision needs, as well as whether it can be cleaned and sterilized according to the required care procedures. A suitable choice should feel balanced, provide reliable control, and match the user’s technique without unnecessary strain. Regular inspection, careful cleaning, and proper storage help maintain its condition and performance over time. By weighing these practical factors together, users can select and maintain a Micro Needle Holder suited to the procedure and their working preferences.

Amelia

Amelia

Amelia is a dedicated marketing professional with a strong understanding of product strategy, customer needs, and digital communication. As a key contributor to the company’s marketing team, she regularly creates and updates expert blog content for the corporate website, translating complex product......